This page talks about rallies but garrisons are effectivly exactly the same thing and most of this advice applies interchangably. There is a section at the bottom for garrison specific considerations
TL;DR? Go straight to the summary
What affects Rally strength?
See for yourself
Effect of Heroes
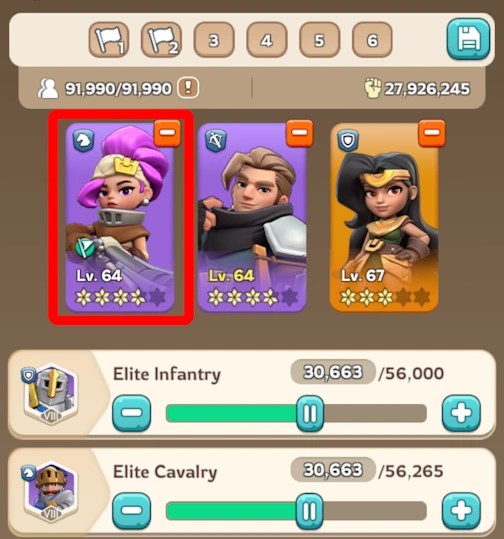
Troop composition
Garrisoning
Troop losses and timed attacks
Summary
A rally is made up of troops, stat bonuses and hero skills. Maximising these is the key to running an effective rally.
Well then, see for yourself:
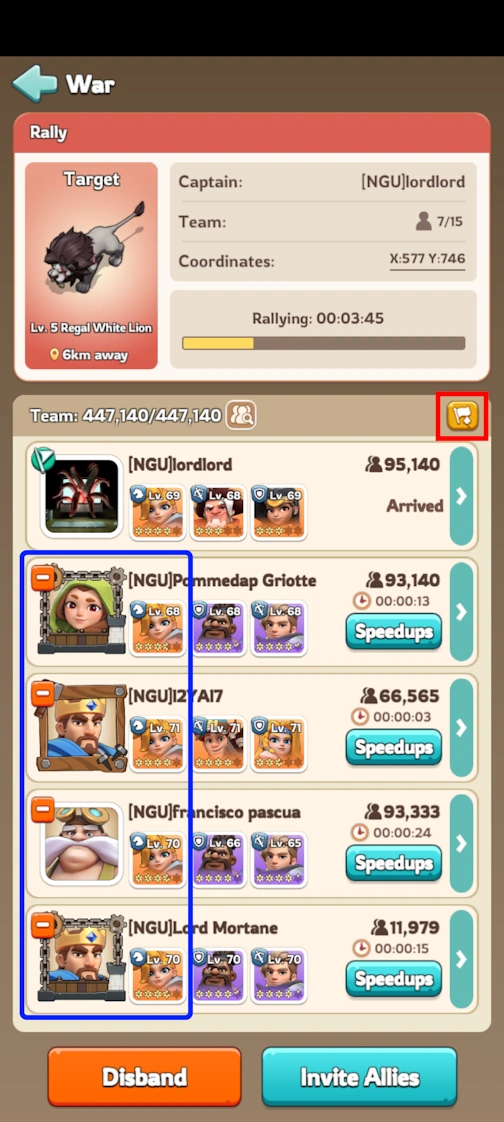

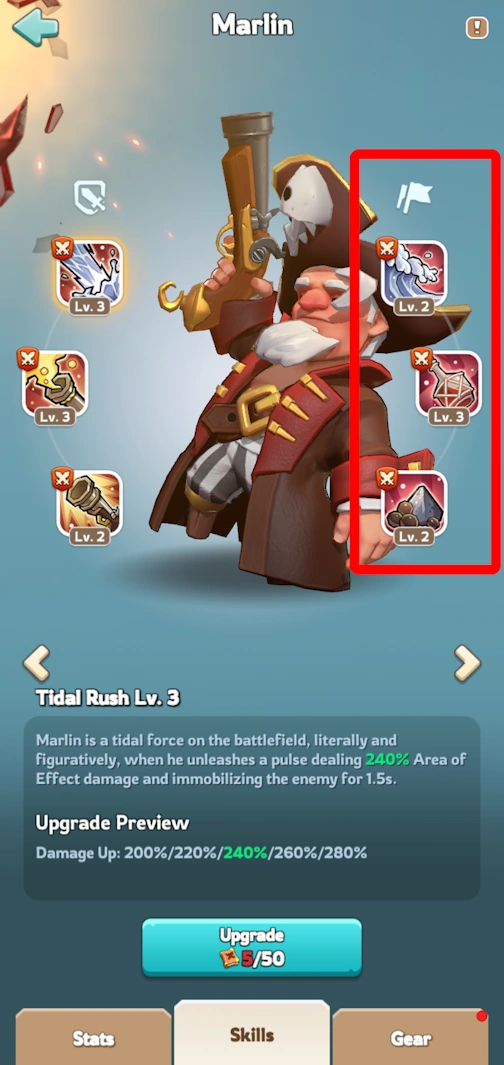
As set out in the previous sections, if you are the rally leader (the one who called the rally) then all three of your heroes count towards rally stats. If you had not noticed, you can only have one hero of each troop type and generally they boost their troop type only. In particular, the following hero effects apply for the rally leader only:
If you are not the rally leader, then heroes only affect the rally joiner's squad size (same effect as for the rally leader). In addition, you might contribute one hero skill.
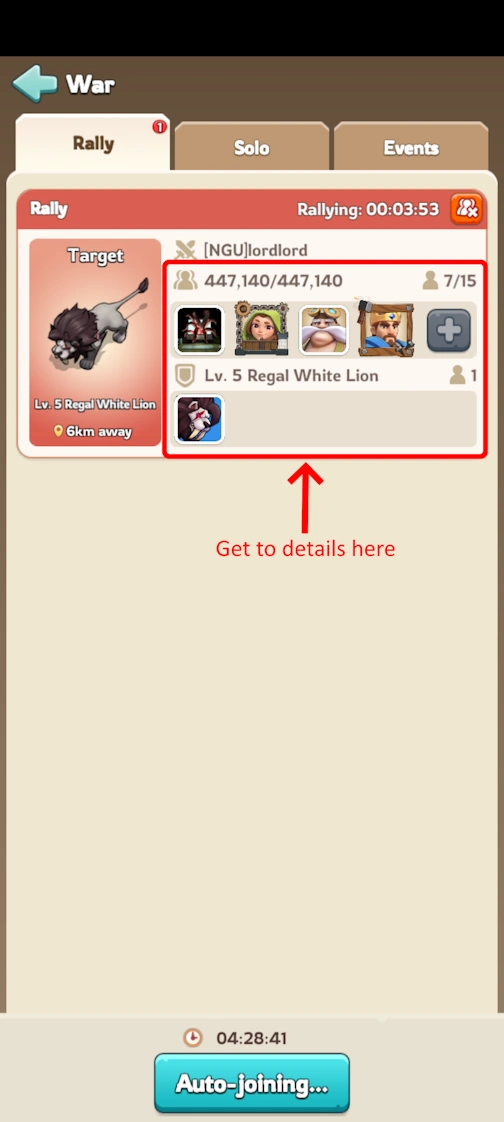
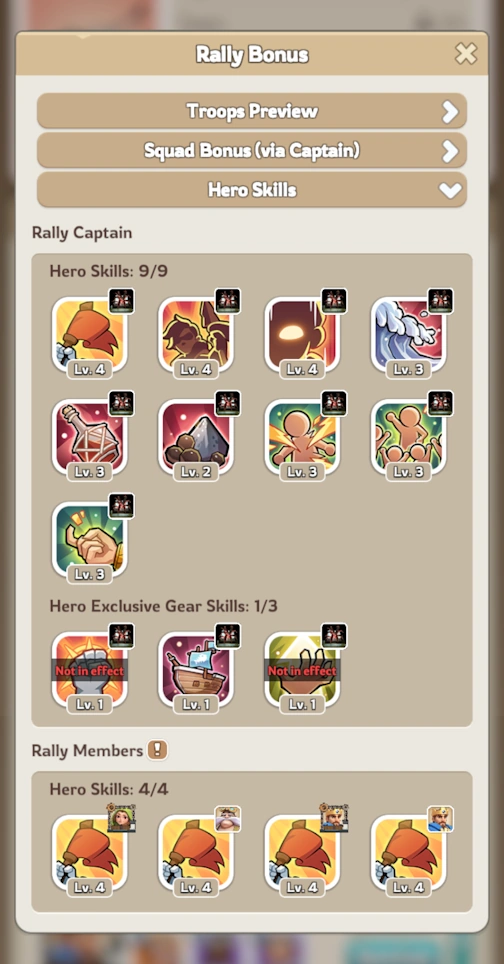
As mentioned in a previous section, the first 4 joiners to any rally will contribute thier top left skill to the rally. If someone joins the rally after the first 4 and has a higher level skill then they will replace the lower skill with their higher level skill. If you join with a level 5 skill, which is the max, you will never get bumped out even it is a purple hero skill and the later joiner has a gold hero
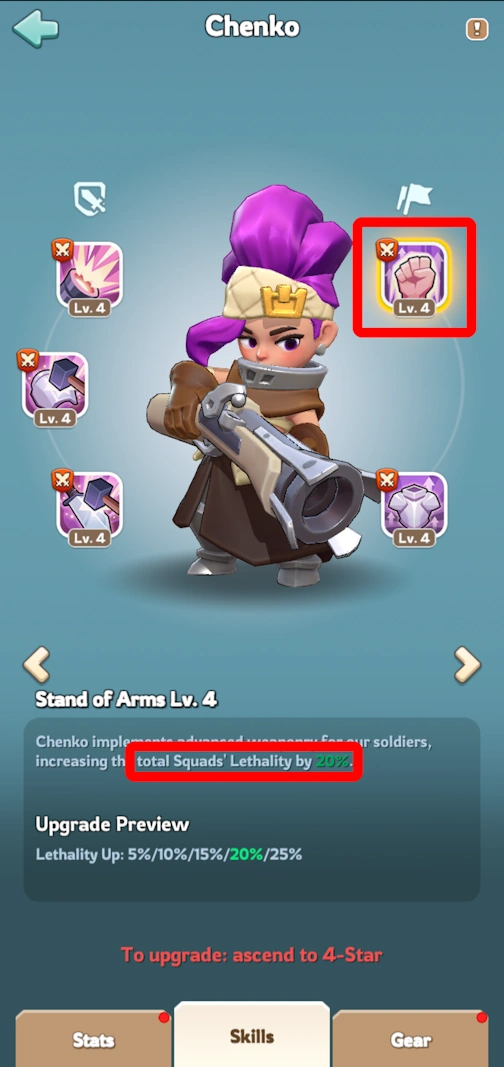
So now we need to look at these top-left skills. These skills are either percentage chance based or a passive bonus. Always favour the passive bonuses as multiple copies of the same skill stack. Also hero skills are either offensive or defensive. Favour the one that suits your situation. The next section lists out the different hero skills, so you can better plan who your #1 joining hero should be
The blue heroes all have farming related skills, which have no effect on rallies
In summary, you really want Chenko (or Amadeus) as the lead hero for most offensvie rallies, and you want Gordon (or Saul) for defensive situations. Hilde is an ok mix between the two types. Unfortunately most players are likely to have Jabel as their most powerful and upgraded hero, which is who the game will default pick, but she is a bad pick for a #1 hero to join a rally being a chance based defensive hero
Another thing to consider is the balance of troops sent. There is a rock, paper, scissors effect going on in this game where:
So if you are attacking someone that you can scout first, look to see if they have an unbalanced troop composition. If they, say, have an excess of archers, make sure that you send in more cavalry in your attack. You should always keep things a bit balanced and skew towards sending more infantry, as they have the highest health.
In a serious battle, expect the rally leader to call the troop composition they want filled (both troop level and mix of troops) and make sure you stick to it
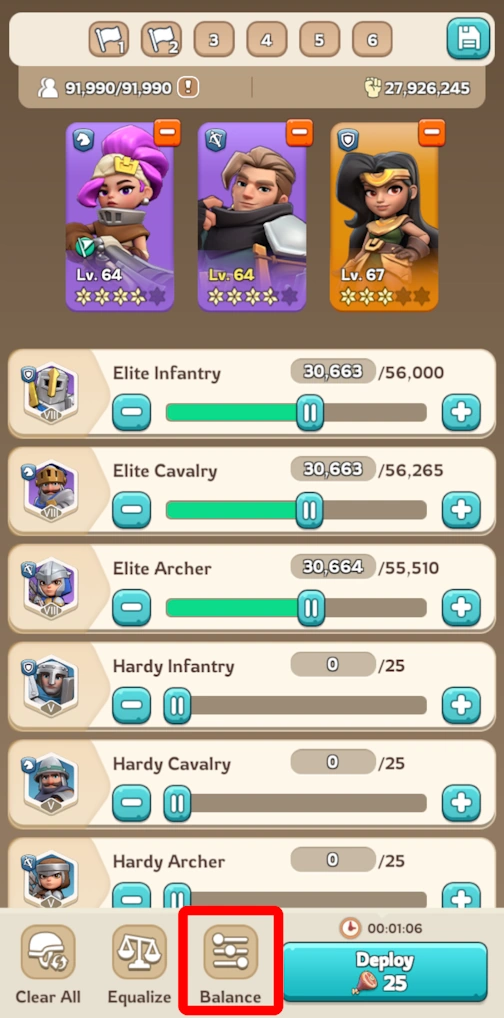
You can adjust the default troop composition from the formations page, or just use the sliders on the troop counts each time
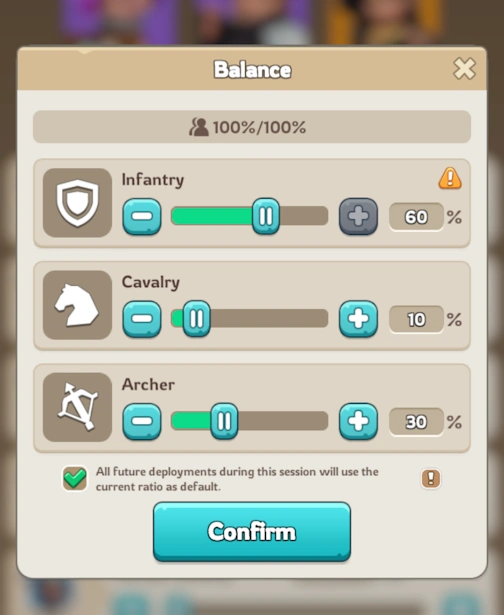
Recommended troop balances:
At the start I said that garrisoning is like rallying, and for the most part they are the same thing. We have a garrison leader, the one with the green flag next to them, who acts as the rally captain, providing all the buffs and most of the hero skills
As the point of garrisoning is defense, defensive stats and skills are relativly more important. Look for boosting the squad health as a skill. Gordon, Jabel, Helga and Hilde are all good defensive heroes. If you have a Gordon with level 4 or 5 Super Nutrients skill, he is a great pick
As we are attacked, you will lose troops to injury. Make sure you are healing them. You can replace injured troops in the garrison by sending a new squad in, the game will automatically only take as many troops as you and / or the building will fit, bouncing the rest back to you. Make sure you keep troop types balanced by only sending in the troop type you are low on, which will usually be infantry.
In each battle, the attackers and defenders take turns to attack each other. They all attack the other side's troops in order, going first infantry, then calvalry, then archers. All of the other side's infantry must be removed from battle before their cavalry is attacked, and all the infantry and cavalry must be removed before archers are attacked. There is one exception to this, the cavalry have a 20% chance to skip the front lines and attack the archers directly, which they are super effective at killing once through. When one side has lost all its troops (to one of the three methods) the battle is over and the other side has won.
Troops get removed from battle either as lightly injured (they are fine after the battle), seriously injured (they fill up the infirmary and if that is full, die) or losses (which means they die right away). You only get outright losses when attacking another player's city, and defending or attacking a level 4 alliance resource outpost. If you don't like losses, be careful of these situations. You can recover infirmary overflow losses at the enlistment office but it will cost you, so try to avoid if at all possible.
Lightly injured troops are perhaps most relevant when garrisoning a building. These troops are removed from the building and sent back to your castle straight away, even though they are fine to re-use. This means that if two attacks come in in quick succession, the second attack will often face way fewer troops as the defenders will not have had the chance to re-garrison to replace their losses. This means two things, one re-garrisoning is very important in big battles where we are defending and, two if we are attacking a heavily fortified building we should call two (or more!) rallies to hit one after the other. Always remembering that it is the strongest players that must call the rallies.
Given the order of which troops get attacked in battle, you will lose infantry in the highest numbers, then archers, and then finally cavalry. If you just re-garrison with an equal mix of troops, we will end up with too many cavalry in the building, which is then easily attacked with an infantry heavy attack. Keep an eye on troop levels and generally favour re-garrisoning with an 80% / 20% mix of infantry / archers as your default choice to keep the garrison troop levels in balance.
This applies only for the strongest battles. Rallying for a Terror? Do what you like :)